Koło Pszczelarzy w Wyrzysku
Strona główna
Informacje o nas
Aktualności
Zarząd Koła
Vademecum
Galeria
Linki
Terminy spotkań
Kontakt
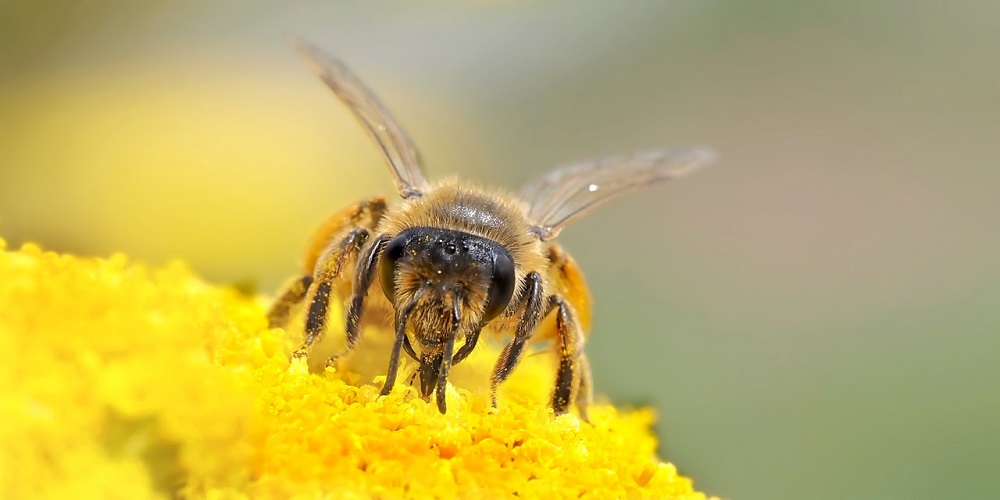
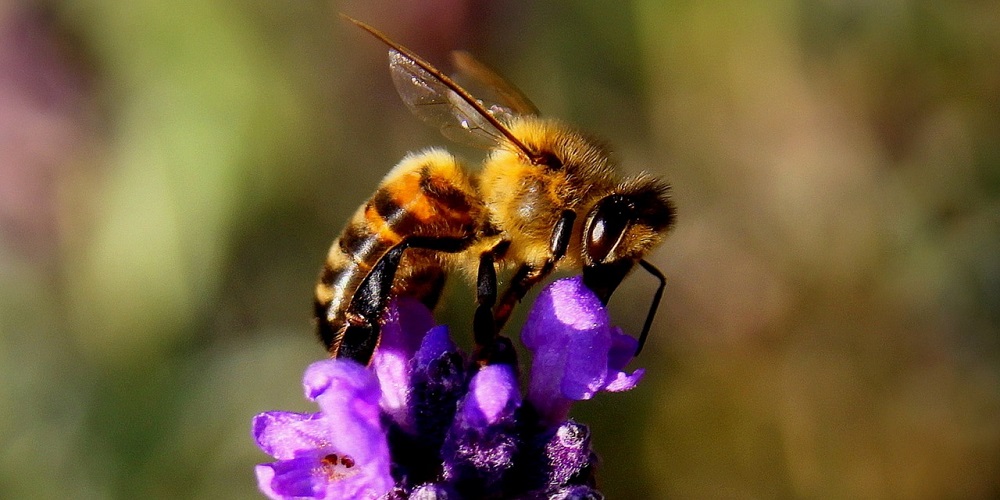
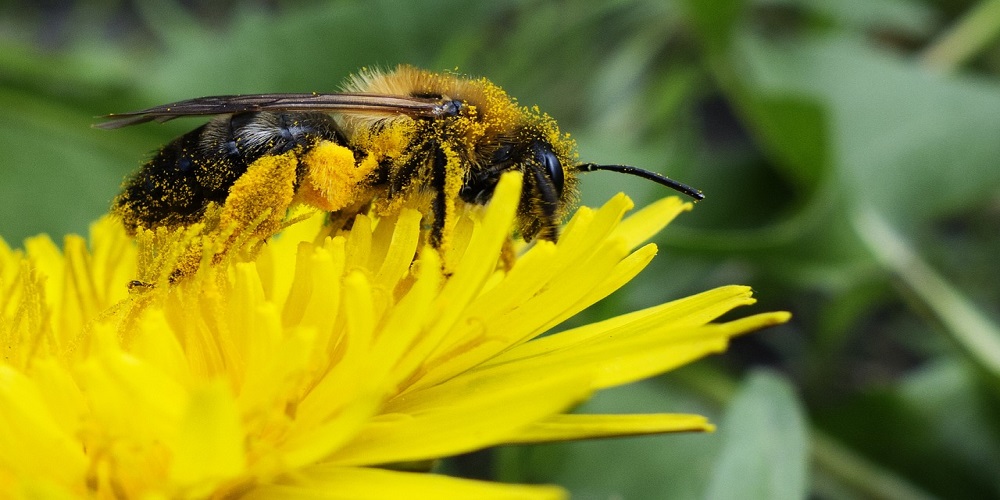
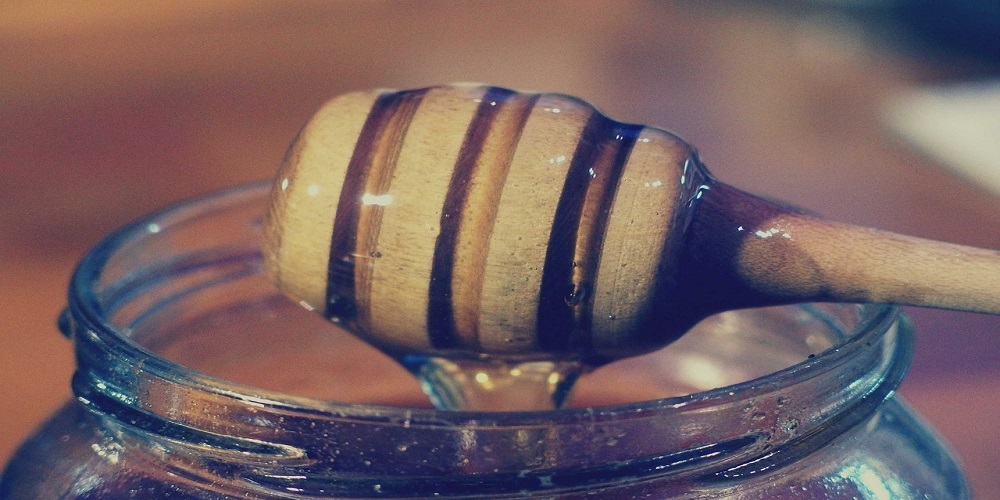
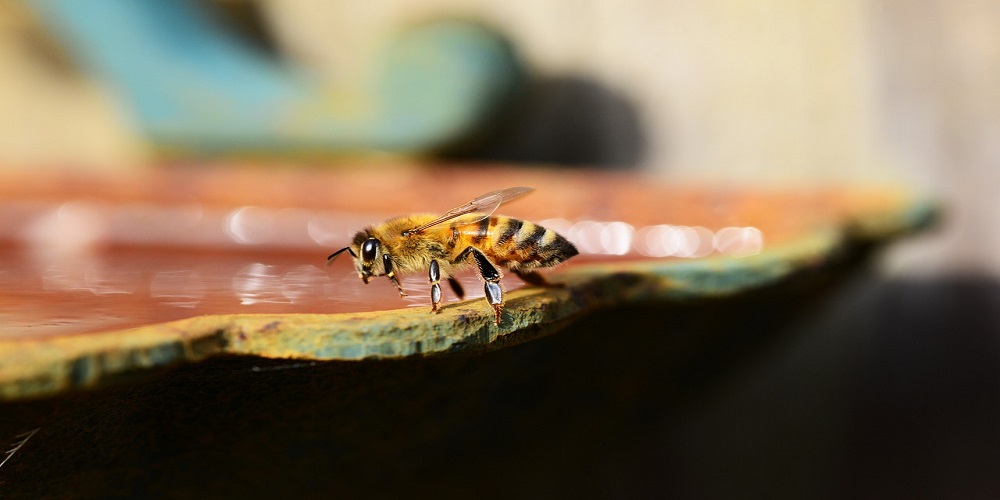
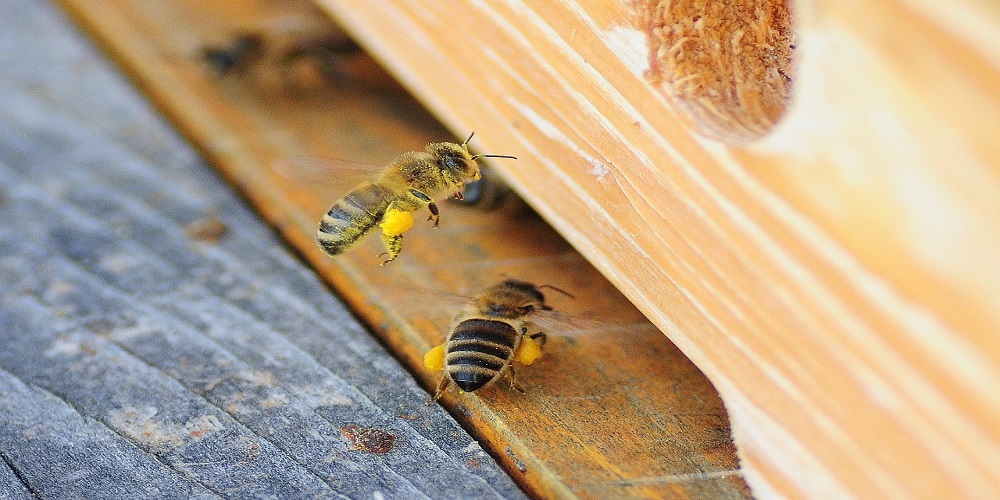
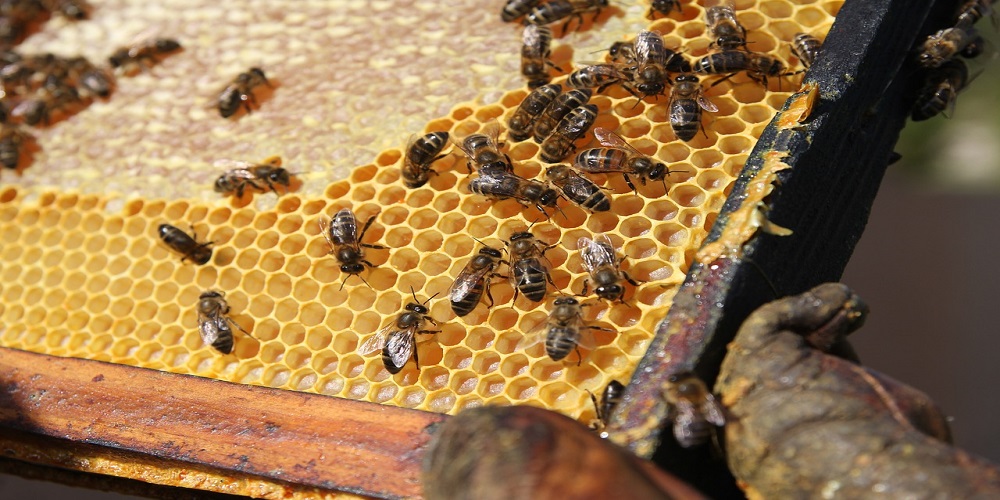
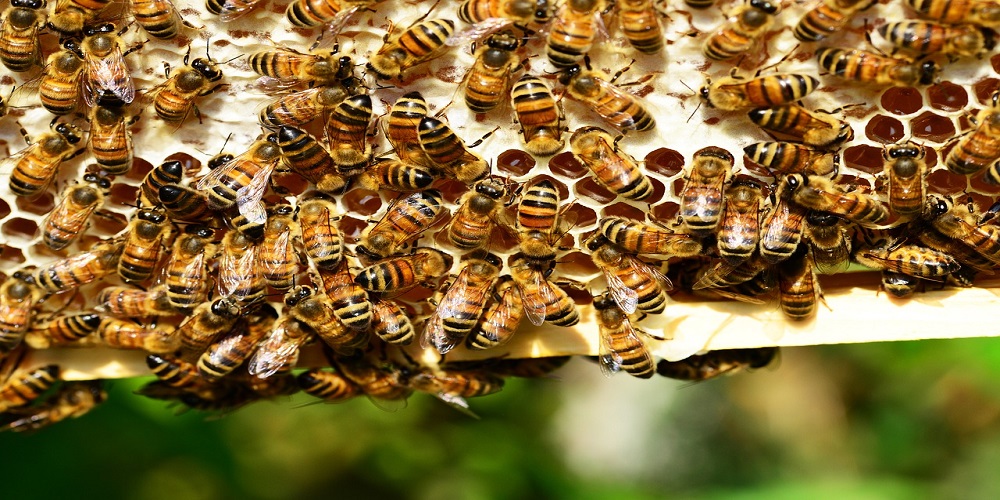
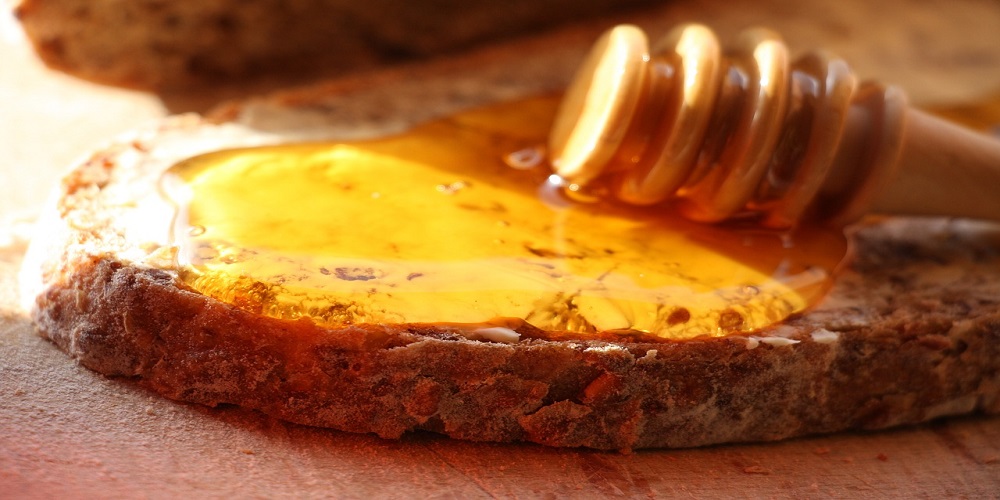
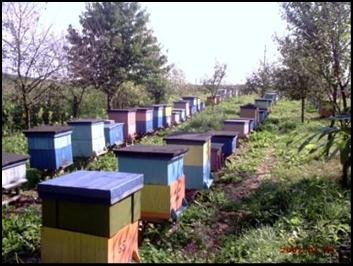
Galeria - Pasieka p. H. i J. Borzych
Zdjęcie 1
Zdjęcie 2
Powered by
Phoca Gallery